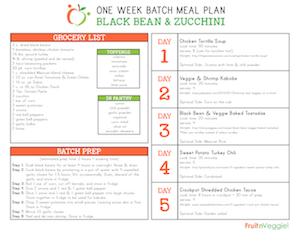
Our main ingredients for this week’s batch meal plan are black beans and zucchini, since they are in prime season! Plus, they are a healthy food option. This week’s five meals tend to be a little more southwestern in nature, though they are not necessarily spicy for folks who like foods with a little kick….
Fruit and Vegetable Halloween Costumes

In the spirit of the blog and also eating healthy, we think you should dress-up and pick any of the amazing fruit and vegetable Halloween costumes this year! Well, if you are reading this, chances are you are on the look for a Halloween disguise to wear this year, right. We have selected a few…
Pruning Tomatoes for Maximum Harvest
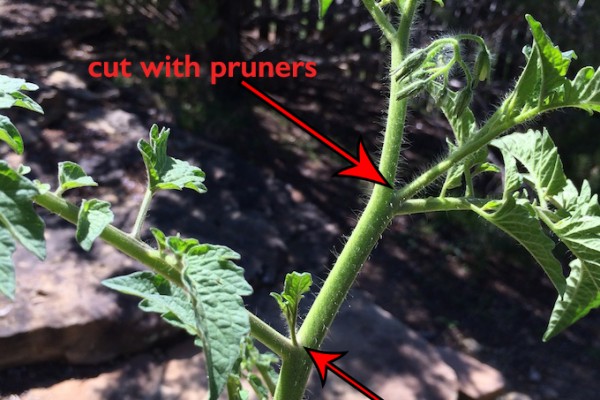
Many people ask how do you go about pruning tomatoes to increase maxi yield? You will be surprised by the number of people who don’t know how to do it. Along the way learn some important tomato pruning mistakes to avoid. First, you are going to need to learn or re-check a few things. Step…
How to Save Seeds
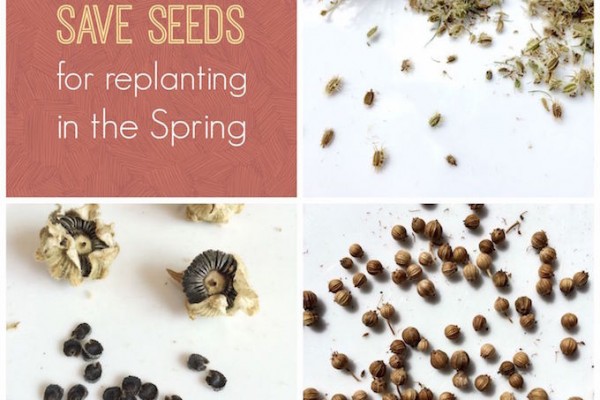
How to save seeds to start replanting in Spring Time.
Recipes using Fresh Peaches
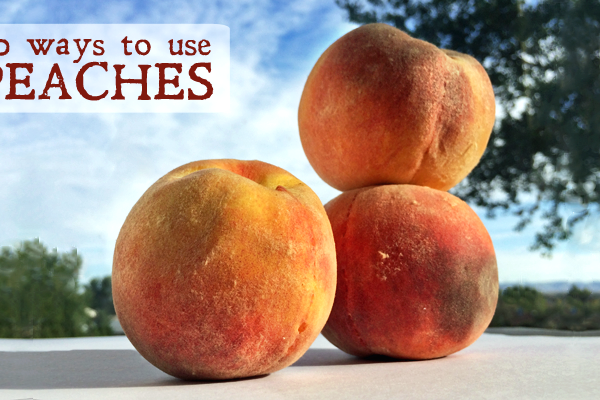
I live in Palisade Peach country, some say, we have the best peaches cobblers in the world! It is also true that we have an abundance of them all around us. Surely, you’ll find this type of fruits where you live, as long it’s the season. But do remember that peaches tend to go from…
Natural Vegetable Dye
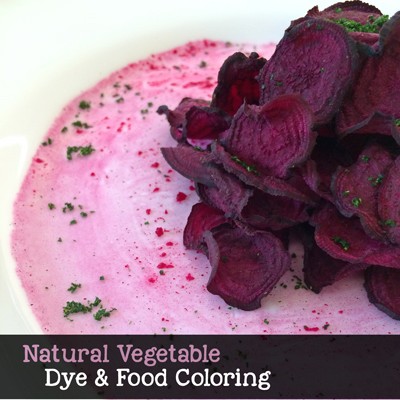
Design or elaborate dishes with natural vegetable dye without toxic product flavors. Your kids will love it. We will show you how. Keep reading. Did you know that most store-bought food coloring contains toxic ingredients? Yes, they are called FD&C Yellow 5, FD&C Red 40, and Propylene glycol. Now I will recommend that instead of…
Garlic Scapes
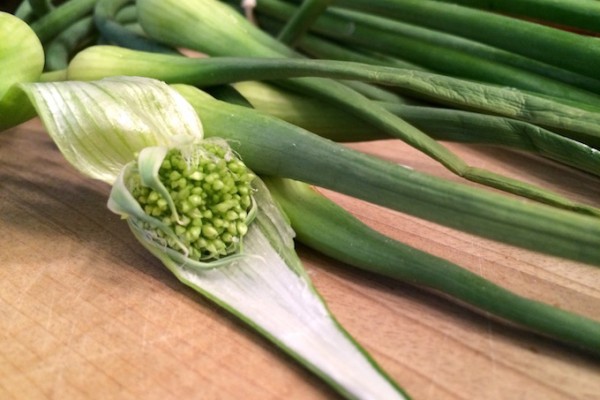
What is it? They are the flower bud of the garlic plant and are removed to encourage growth of the bulb. In late June at the Farmer’s market you might find some fascinating hard green stocks with a closed flower at the end … they are garlic scapes that you can eat! Where does it…
What to do with Oversized Zucchini
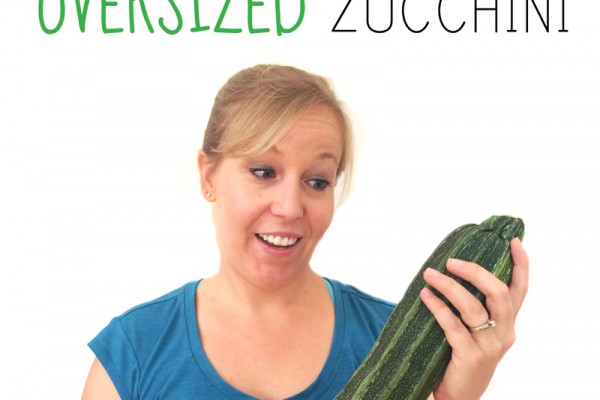
Have you ever walked into your garden and found a zucchini that is actually HUGE? You know, like this one that is a 2 feet long (Lady holding it) and weighs 10 lbs. Extra large zucchini tend to be seedy and tough, but don’t throw them away just yet. Note: At maturity age, they can…
How to Freeze Bananas
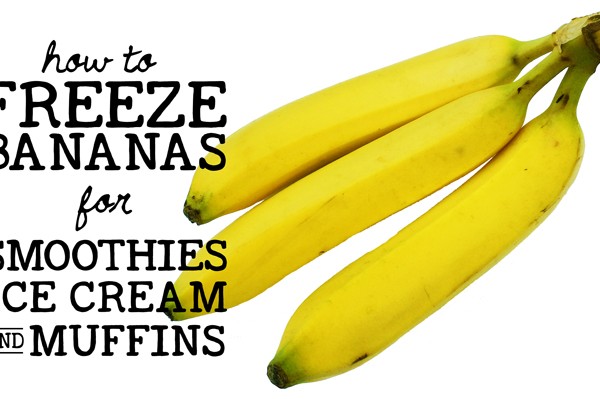
Why freezing bananas will preserve its qualities? There are various reasons for that. Studies shown that the freezing process helps preserve all its nutrients. Frozen bananas not only make the best mango banana smoothies but are also great for ice cream, desserts and chocolate-dipped snacks! If you ever have some overripe bananas sitting on the…
Garlic + Stomach
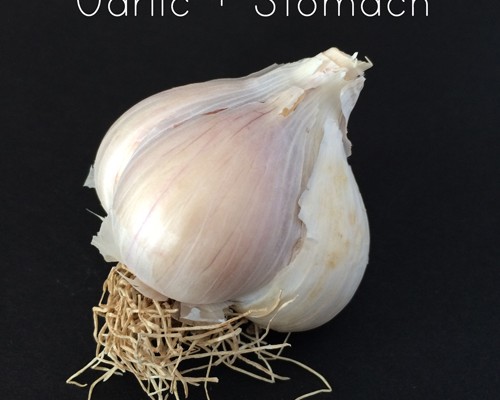
Fancy learning the how and why garlic can cause stomach ache? Read on. Have you ever experienced a stomach ache after eating garlic? When eating garlic, some people may experience abdominal discomfort or severe pain. Adding too much garlic to your food can actually have some side effects such as nausea, cramps, vomiting, and other digestive…
- 1
- 2
- 3
- …
- 5
- Next Page »