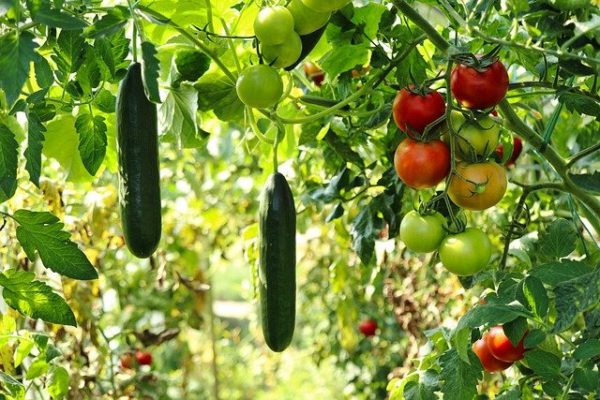
Whether you’re a seasoned gardener, garden hobbyist, or a beginner, our guide will offer pro tips to help you grow and harvest fresh tomatoes all season long. We will also share with you everything you need to know about preparing and cooking this flavorful fruit. Why should you grow tomatoes? Other than being super easy…
Save Money by Growing Fruit & Vegetables
We decided to start our frugal living journey and save money by growing endless veggies. Discover below how to save money by growing fruit and vegetables. Harvesting vegetables can be rewarding in many ways. I also compared prices (below) from Aldi, and Walmart and what you could save by growing our own. You could save…
Growing pumpkins successfully
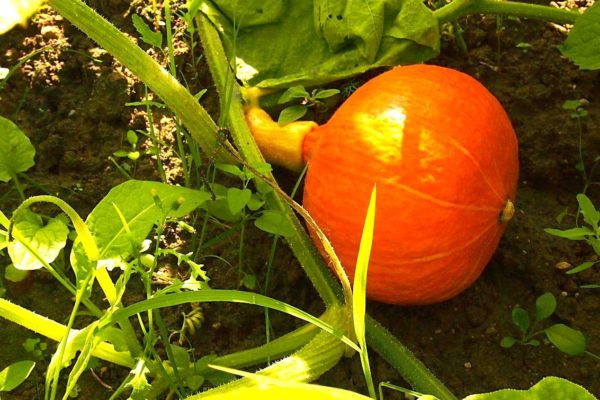
The diverse group of plants produces pumpkin vines with fruits coming in various colors. These range from gray to orange. The shapes can be round, oval, or long, and the skin can either be ridged, smooth, or knobbly. You only need to grow a few pumpkins to have access to lots of the sweet flesh…
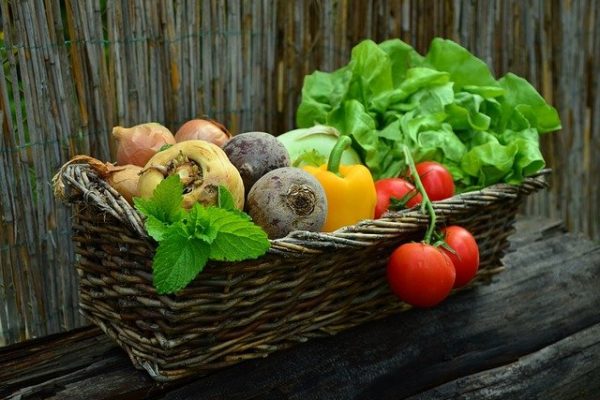
Seasonal Fruits and Vegetables
Do you know which fruits and vegetables are in season? It’s difficult to know all of them, and I am with you, with our busy lives we might remember a dozen. Also, which ones are good for you? or Which ones help fight climate change? That gives you plenty to think about, doesn’t it? And…
Vegetable Companion Planting part 2
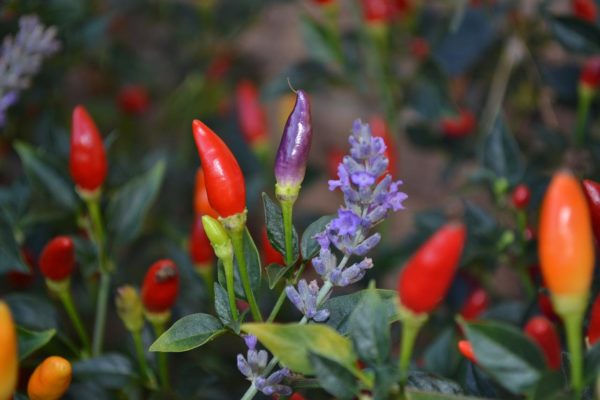
Companion planting is a fantastic tool that all gardeners should take advantage of. It is an organic, chemical-free way of designing and planting your garden. It reaps the benefits’ nature can bring. The mixed cropping of different plants offers a wealth of opportunities to discover. Yes, keep reading to find out how. What are the…
Vegetable Companion Planting
Growing vegetables and companion planting is a joyous past-time. It is a hobby good for the mind, body, and soul, to work the ground and have your hands in the soil. Fresh vegetables picked from the garden do also taste better than any from a supermarket. Yet, growing garden crops is also full of challenges….
Growing Lettuce on a Windowsill
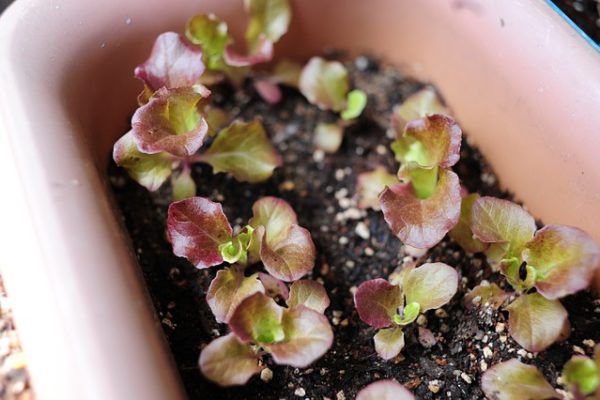
Do you want free homegrown lettuce without having your own garden? It is possible now. Growing lettuce indoors in containers is quick, easy, and the most enjoyable. I promise. Firstly, you get to see them sprouting. Then, you’ll be eying once in a while and you can’t wait to see them getting taller. Suddenly, you…
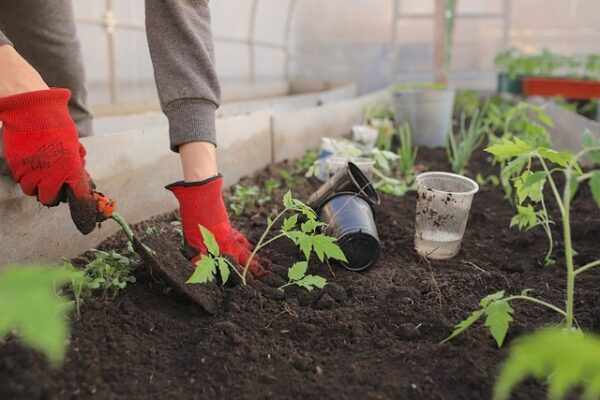
How To Start a Vegetable Garden
Growing your own vegetables at home is an immensely satisfying and nourishing hobby, and it can be so simple, starting a small garden. If you are wanting to start a vegetable garden, here are some simple steps to help feed your family with home-grown, nutritious veggies like pumpkins throughout the year. Why Creating A Vegetable…
What to plant in June
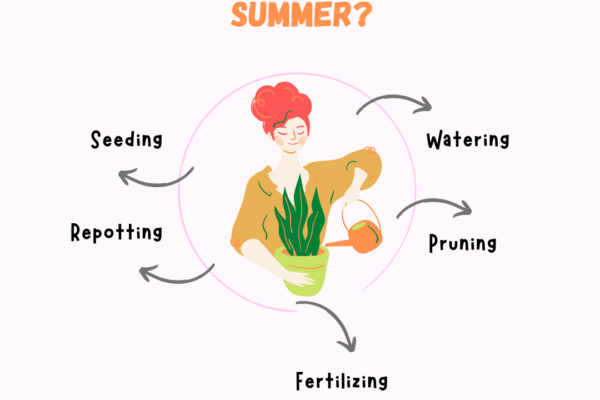
Are you new to sowing seeds? Alright, I recommend reading how to sow seeds and what to plant in April, May, so you can bring yourself up to speed and start planting this June. With the Summer temperatures on the horizon, we are all out for a garden treat. Weather permitting 🙂 There will be…
Sowing Seeds
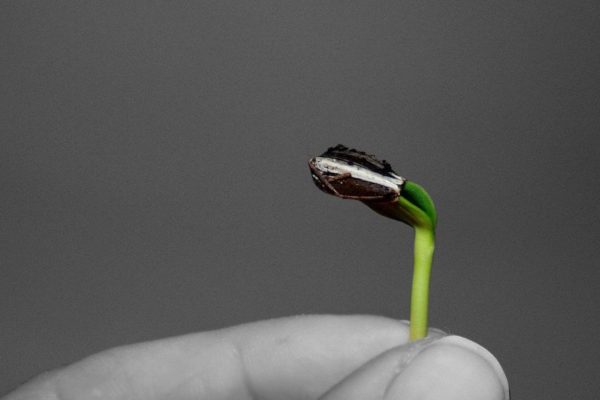
You bought your vegetable, sunflower seeds, or any other. You may have (or not) your garden plan ready. I bet like many people you can’t wait to start. But only, I am sure you are confused whether to start sowing indoors or outdoors!? I know I was, when I first start. Because the seed packets…